For musicians in life, making sound is the sole point of existence, but one of the biggest issues around this is the fact that if someone has to practice in their home – everyone else has to be a part of it too.
This means that if someone is a budding musician, they have to play around everyone else, including those that they live with and more often than not, their neighbours too.
Having to lug instruments and equipment to practice rooms and recording studios may seem like the only option, but there is an alternative; soundproofing a room or practice space in your home.
Although this may sound like an expensive solution, thousands of artists all over the UK have turned their spare bedrooms into a practice space or recording studio, where they can play without disturbing anyone else.
If you fancy having a go at it yourself, here is a quick and easy to understand guide on how to soundproof the individual areas of an average room:
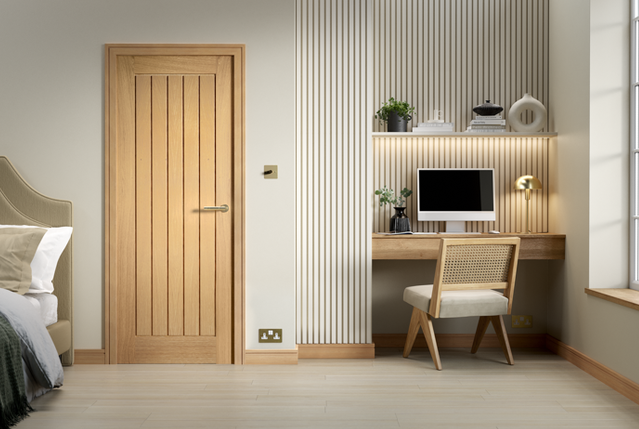
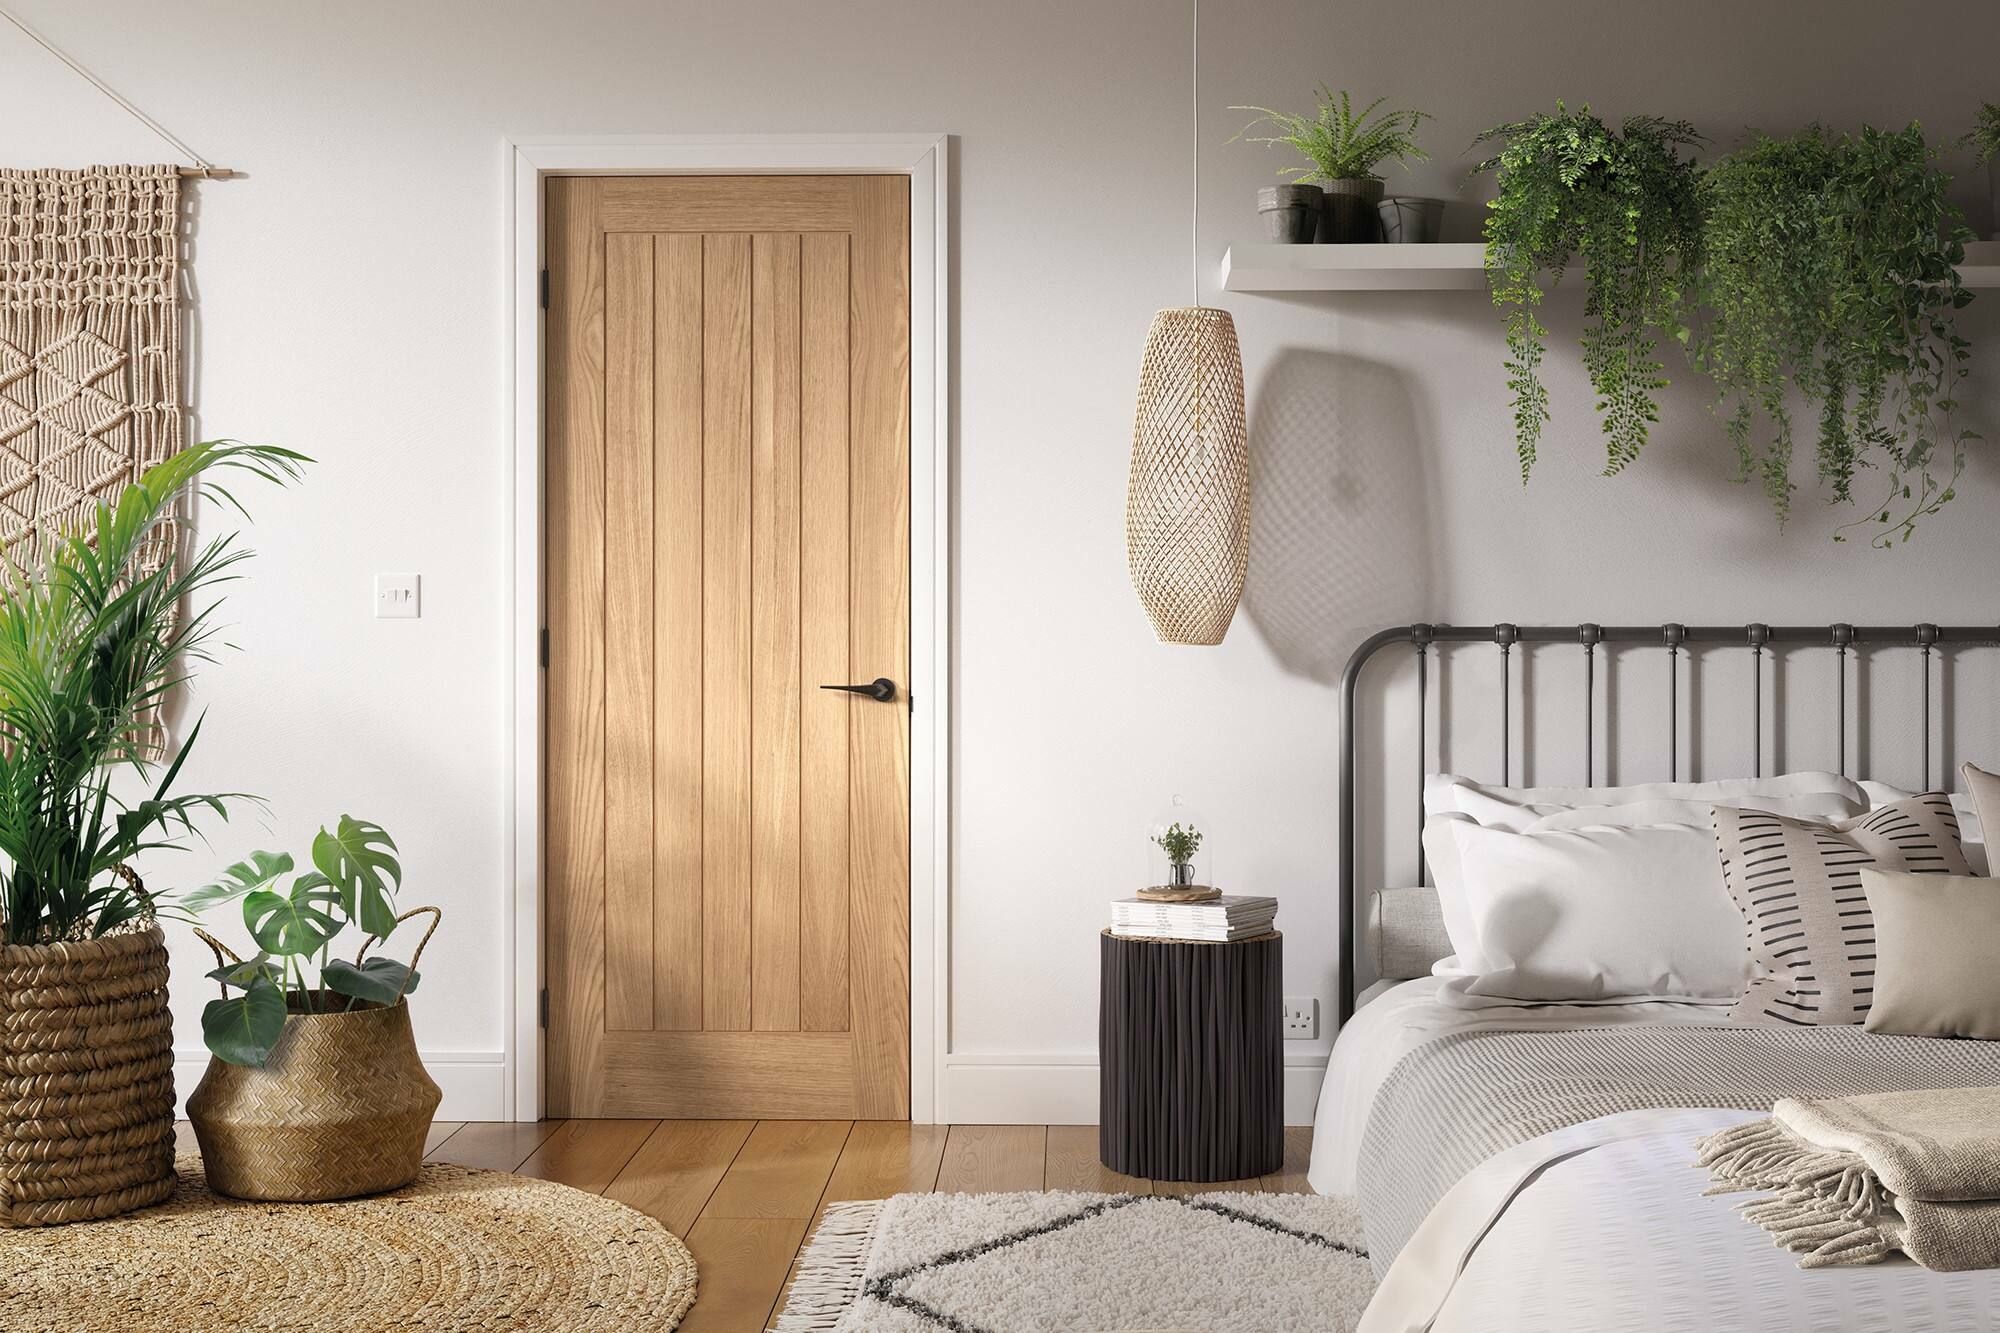
Soundproofing your Door
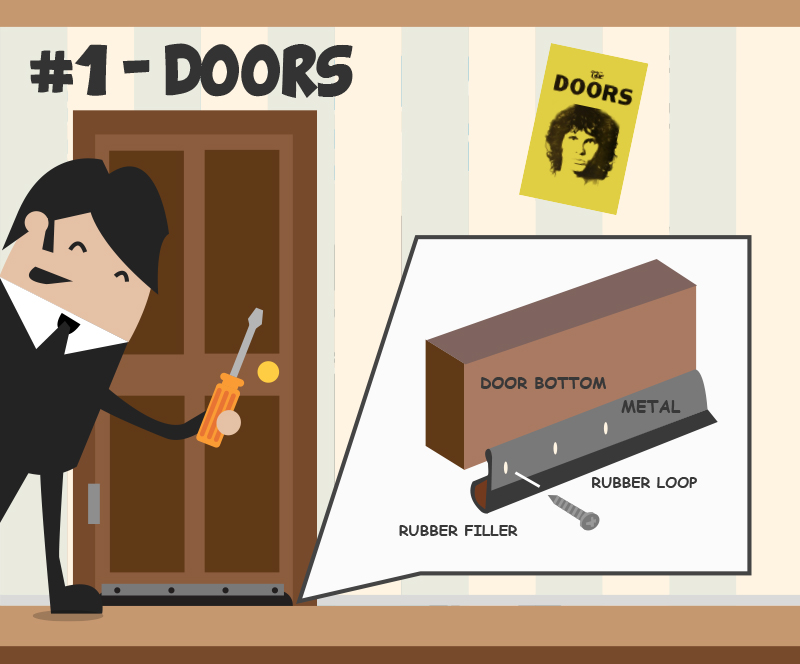
Getting the door soundproofed correctly is imperative to the sonic qualities of the room as a whole, as it is always regarded as one of the main sources of sound loss. This problem is mostly due to the gaps that are found between the door and doorframe, but the door itself is a good starting point.
Stephen Young of Sound Service Soundproofing in Oxford informed us that:
“Effective acoustic seals around the frame and thresholds are of course essential, but the main item that will be blocking the noise is the door leaf itself.
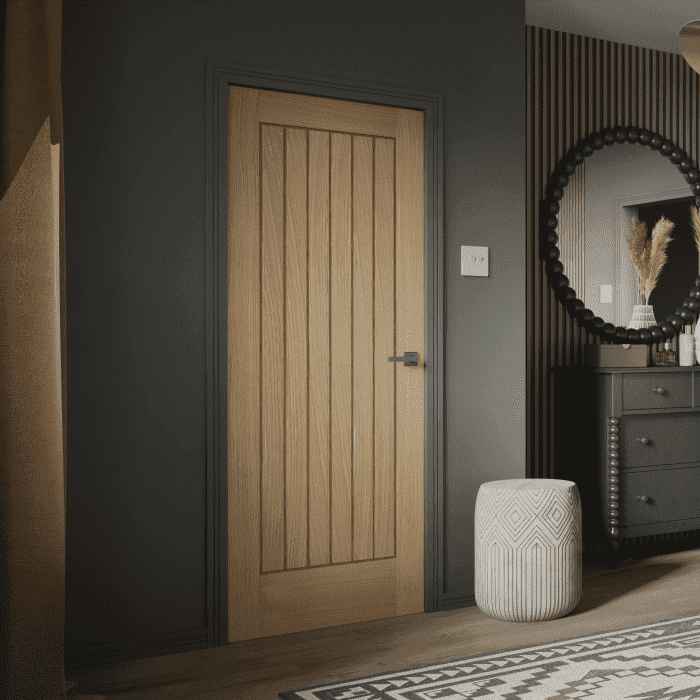
“Ideally this needs to be as dense as possible and made up of a laminate of different hardwoods so the thicker and heavier the door is, the more efficient it will be at blocking noise.”
It may not only be the door that needs a little work, but also the frame itself, which may need thickening. Stephen continues:
“If you can go thicker with maximum weight, it is possible to improve the dB rating. The door leaf should also be hung within a thick, hardwood frame of suitable dimensions to support the door and with 3 or 4 robust hinges.”
To ensure a sound-tight seal, you can purchase expanding foam seal tape online for expense very reasonable price. You will need to apply this to the frame and do so when the door closes. This improves sound insulation approximately 65%.
Soundproofing the Windows
Although doors can present a significant challenge when it comes to sound leakage, if your windows are not double glazed, there is a very high chance that these will be the biggest cause of your problems.
Of course, even double glazed windows do allow some sound to escape and are far worse at insulating than any of the walls.
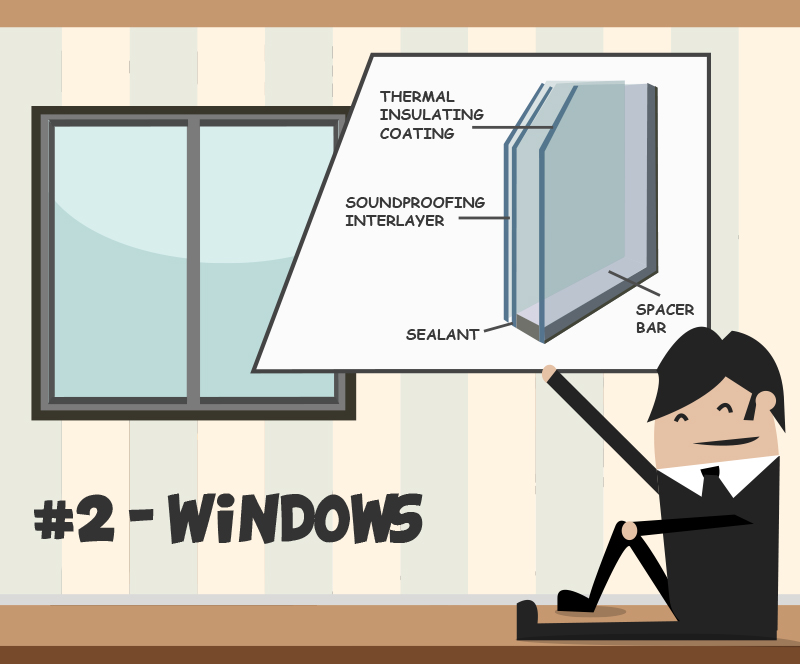
In either case, DIY secondary double-glazing kits are quite cheap to buy and are also simple to install,as this video shows.
If you really want to avoid sound leakage however, an alternative solution to the above is to block out the window altogether using a heavy wood or MDF shutter. This is the approach taken by many professional studio converters. If this is too much of an expense, you can also use sandbags, though they aren’t very aesthetically pleasing.
Soundproofing the Walls
There have been stories of people gluing egg cartons to their walls, with the assumption that this will help reduce the noise, but unfortunately, the only thing that this will do is make your walls look silly.
If you plan to improve the sonic insulation properties of an existing wall, there are a number of ways to do this.
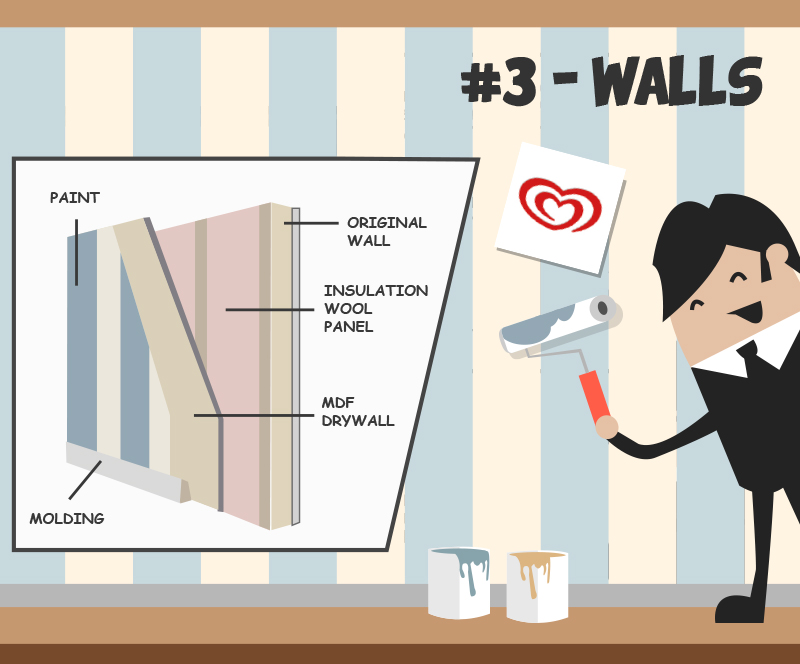
The first is to create a totally new wall in front of the existing wall, as long as you don’t mind losing a little space along the way.
By adding a sound-deadening board and an extra drywall to each wall of your room, you could look to reduce noise leakage dramatically. This method, although it may take a day or two, is relatively inexpensive though you will lose an inch or two of space on each of your walls.
Another solution is to use something called Green Glue, which is a compound that converts sound energy into heat. This can also be sandwiched between two surfaces such as dry walls. Remember however, that Green Glue takes around ten days to set and another 20 before it reaches its maximum efficiency.
Soundproofing the Ceiling
When it comes to the ceiling, acoustic foam tiles do look attractive, but the truth is that they will keep out very little sound.
If a professional were to look at the situation, they may suggest a false ceiling to add insulation, but this simply is not practical when it comes to the home.
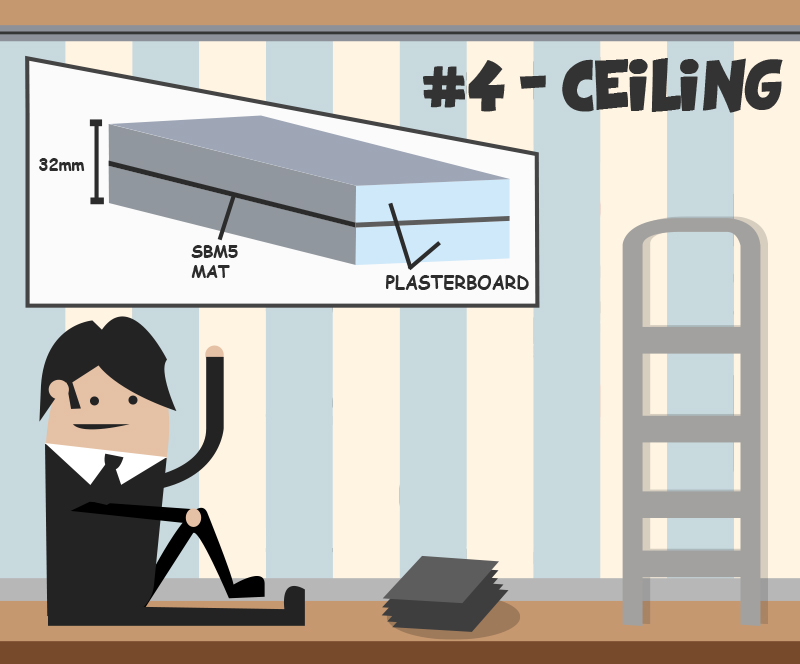
One solution is to look at the floor above (if there is one), and asses the gaps between the floorboards. From here you can fill them out relatively easy with mastic, though you also may want to consider fitting barrier mats (otherwise known as SBM5) between the joists.
Remember however, to fit the barrier mats first so you can then fill the gaps with insulation-grade Rockwool.
Soundproofing the Floor
Soundproofing the floor works a little like soundproofing the ceiling, except this time, you have gravity working in your favour.
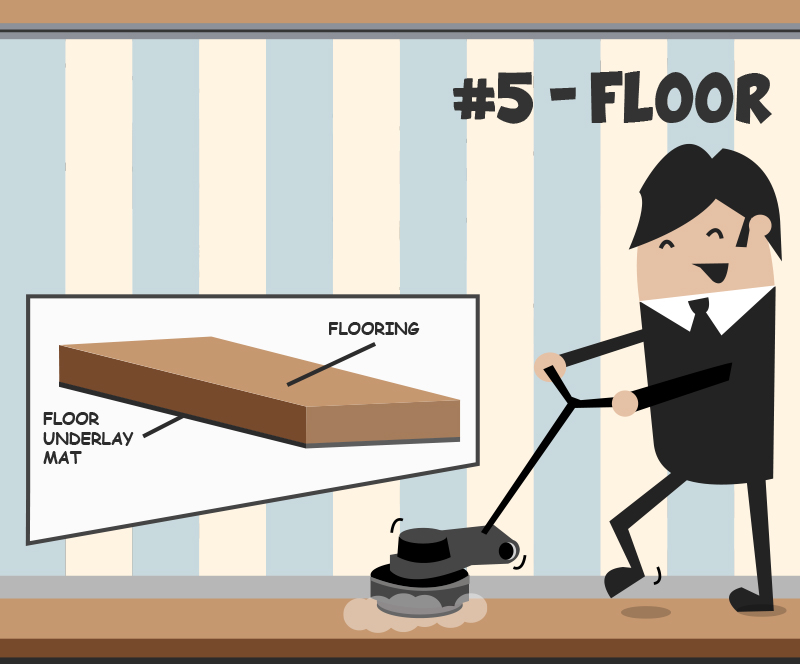
On the other hand, it does really depend on what kind of floor you have to work with (concrete being the best). Sonically, domestic floors are typically very poor at providing insulation, so with this being the likely case (if you’re not working in a garage), you may have some work ahead of you.
The cheapest option is to fit a thick underlay beneath your carpet, which can be bought in rolls for around £30 – £50.







Comments